It’s important to know how to winterize your pond and prepare your fish to survive through the winter. Over the course of a year, your pond will accumulate debris such as leaves, twigs, grass clippings, and fish waste. Left unchecked, decaying debris can release toxic gas and reduce dissolved oxygen levels within the pond. Removing debris and swapping filtration systems for aeration kits and de-icers will help ensure adequate dissolved oxygen levels as well as provide ventilation and circulation throughout the winter season.
Learn how to winterize your pond by following the 8 steps outlined below.

Step 1: Pond Netting
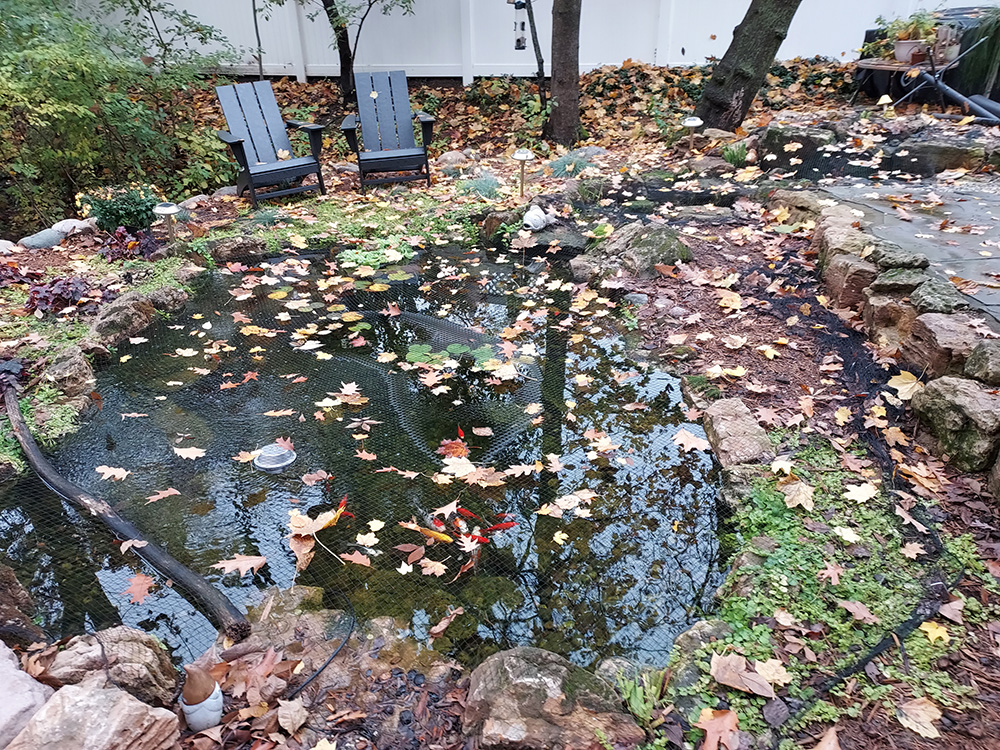
Pond netting is one of the most important steps to complete. Pond netting helps to reduce the extent of other pond maintenance steps. A pond net stops debris before it falls into the water and begins to decay. To install a pond net, simply pull netting tight over the entire pond and stream area and tack down with landscaping staples.
Once all the leaves have fallen we recommend removing the net to prevent it from being damaged by snow and ice during the winter.
Step 2: Remove Your Pump
Next, access your pump and filter for cleaning and storage. For ponds with waterfalls and skimmers, disconnect your pump and check valve, and allow the water to drain from your plumbing and waterfall.
During this process it is very handy to have a hose nearby. Rinse or scrub any noticeable buildup of pond scum from the pump and plumbing.
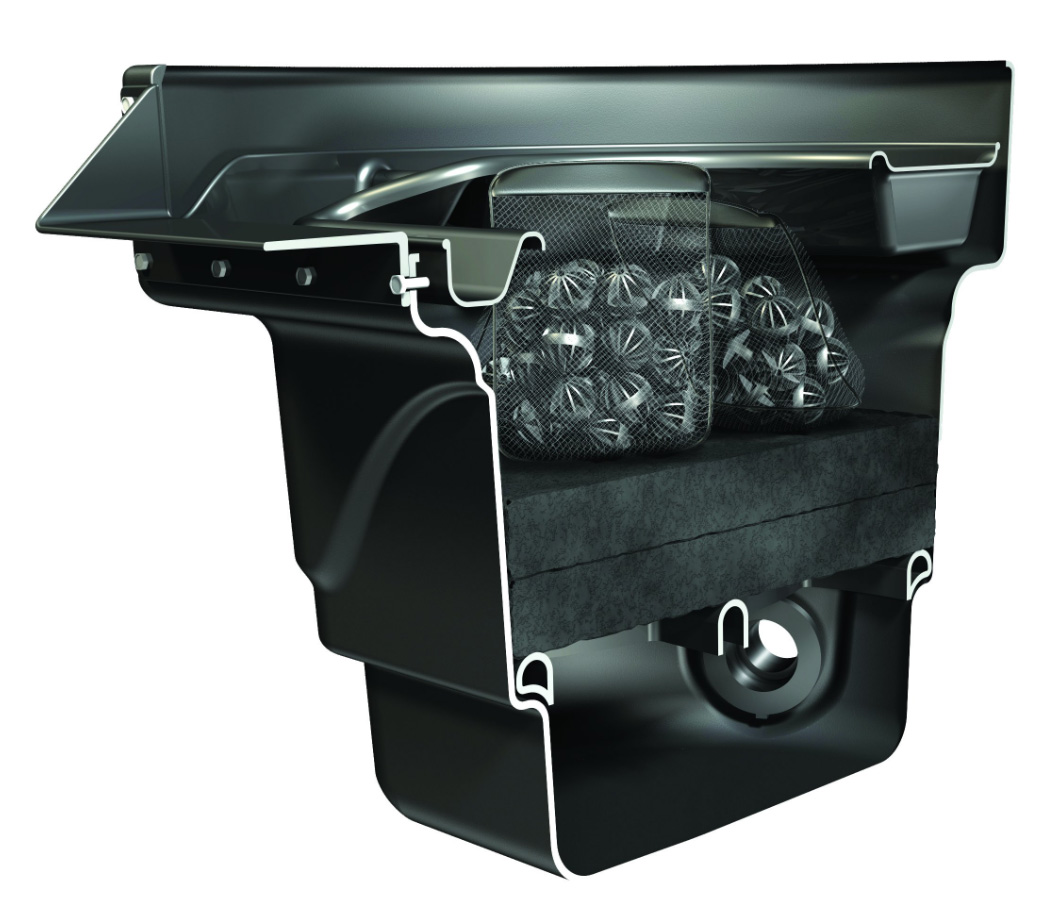
Step 3: Clean Skimmer Box Filter and Basket
While removing your pump from the skimmer, take some time to remove and spray down the filter mat and skimmer basket. It is much easier to clean these filters when they are still wet rather than waiting until the algae dries on the filter.
If any of the media looks worn or torn, start a list for items to be replaced during spring start-up.

Step 4: Clean Biofalls Filters
Moving to the top of your water feature, the filters stored in your biofalls should be removed and rinsed thoroughly before returning them to the Biofalls or storing them inside for the winter.
The simplest way to clean these filters is to lay them flat on the grass and spray down one side at a time. Be sure to turn the filter mats over multiple times to rinse until the water flowing out of them is clear.
Step 5: Storing Your Pump
When storing your pump and preparing your pond for the winter, we recommend placing it in a bucket of water to prevent the seals in the pump from drying and cracking during storage. Keep the pump in a location that will not freeze, like your basement, or a heated garage.
Step 6: Trim Back Aquatic Plants
As winter approaches, plants will naturally fall into a dormant state. To winterize hardy plants, use your pruning tools to trim off dead foliage just above the soil.
If your plants are in pots, move the pot to the pond’s bottom to protect the roots from freezing temperatures. Tropical water lilies, floating plants, or other temperature sensitive varieties will either need to be discarded or brought indoors.
Step 7: Remove Excess Debris
Rotting leaves, twigs, or dead aquatic plants will put stress on your pond’s oxygen levels throughout the winter, which puts your fish at risk. Use a pond skimmer net to easily remove leaves and debris from your pond and stream.

Step 8: Install Aeration Kit & De-Icer
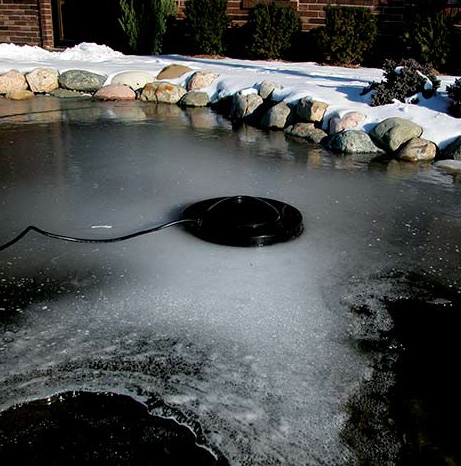
Aeration and de-icer units help to keep a hole open in the ice during winter months. These devices prevent harmful gasses from being trapped under the ice and will keep a healthy level of oxygen in the water.
Install the air stones in a shallow part of your pond so it will not disturb the warmer water in the deep parts of your pond. These warmer areas of water are important to the health of your fish through the winter and they will spend the majority of their time residing in these spots.
Installing a de-icer or pond heater is as easy as plugging it in and pushing it out into the center of the pond.
If you are looking for help winterizing your pond contact Platinum Ponds & Landscaping!

